
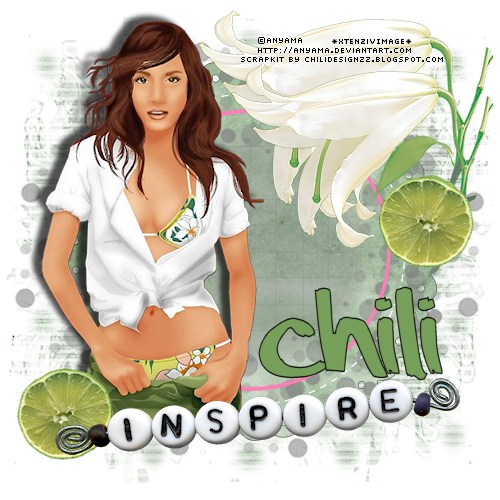
I am using artwork by Anyama (I used PhotoX2 but you should have no
This is a FTU image please use this copyright ©ANAYAMA
http://anyama.deviantart.com/ if you use this image.
DOWNLOAD TUBE HERE
Scrapkit from Chili at
Chili Designzz Keep It Simple. (This is a PTU kit.)
Font:aaaiight
BabesDesignz Mask 7 And Template 33 Babes Designz
Mask download masks 1-40 unzip to your masks folder.
Template Download 31-40
unzip to your fav template folder. (Open folder find Template
33 & minimize)
This Tutorial was created using Corel's Paint Shop Pro®
with the understanding that you have a working knowledge of this program.
trouble recreating it with earlier versions of PSP)
Summer is my favorite season, Chili's kit made me think summer so you get a summer tut..lol Since Chili's kit is PTU i used a FTU image please visit Anyama's site she has some fantastic art and remember without the free to use artists lots of people would not be able to enjoy the joys of tag making!
Open a new image 500w X 500h Resolution 72.000 Pixel/inch
Raster Background transparent checked > Click OK
Open Chili Designz KeepIt Simple paper3
Image>Resize by 15% then again by 93%
** Now i'm gonna teach you a little trick. DROP N DRAG
You should have two images open on your workspace one is paper 3 the other is new image you just made in step one, place the two sideby side *make paper active and click on the paper in the layers pallet hold left mouse button down and drag n drop paper onto the new image**
*WOOHOO i know better than copy n paste as new layer.*
Load mask from disk find BabesDesignzMask7
Source luminace> Fit to Canvas > Show all mask
all checked Click Load.
In your layers pallet right click Merge group.
Open BabesDesignz Template33 press and hold shift key type the letter D this will duplicate the image as a new image. Close Babes original. Image resize > all layers checked by 90% then select "masked" layer of template resize again by 90% but uncheck all layers. Now DROP N DRAG each of the template layers Starting at the bottom**except the white bg** onto your new image.
** if your like me and you never save your work in progress this is a good spot to remember save this file as a psp image ( i created a WIP folder in my psp files folder eg: C:\Users\Xtenziv\Documents\My PSP Files\WIP) **
Open Chili Designz KeepIt Simple paper4 Image>Resize by 15% then again by 93% now copy paper.
Return to your tag add a new raster layer above Large template shape
select the shape layer > selections >select all >float > defloat make the new layer active >Edit > Paste Into Selection , i found it left a little shadow like edge abound the shape if you don't like this then delete black template layer.
Open Chili Designz KeepIt Simple lily Image Resize by 30% DROP N DRAG to tag and resize again by 60% move up and over to the right just over the template edge. Duplicate and move the bottom one up a little.
Open your Tube and resize to your liking i resized by 80% then added a
dropshadow Vert = -5 Horizontal = -9 opacity 68 and blur 7
Open Chili Designz KeepIt Simple lime Image Resize by 40% Drop n drag to tag and resize again by 25% move it over to the left corner of the tube duplicate and move it up near the lilys.
Open Chili Designz KeepIt Simple beadstring Image Resize by 20% Drop n drag to tag move it down to cover the flat bottom of the tube.
Add your name i used the font aaaiight size 48 choose a color from your tube for fill and black for stroke >Stroke width 1
Click on layer 1 and flood fill with the color of your choise i made mine black.
Add your copyright information and licence # if any. If you made your
background black
you should either use white for that info or use a gradient glow of your liking.
Merge All Flatten and your done.
GREAT JOB!
THANK YOU SO MUCH FOR TRYING MY TUT!
This tutorial is my own creation.
Any similarity to any other tut
is coincidental and completely unintentional.
Please do not copy or upload to
any other website.
You may share the link to the Blog homepage xtenziv.blogspot or to the blog tutorial page directly.
☼XtenzivImage☼ ©2009 -All artwork used remains the copyright of the creators
PLEASE DONT RIP OR STEAL
No comments:
Post a Comment