
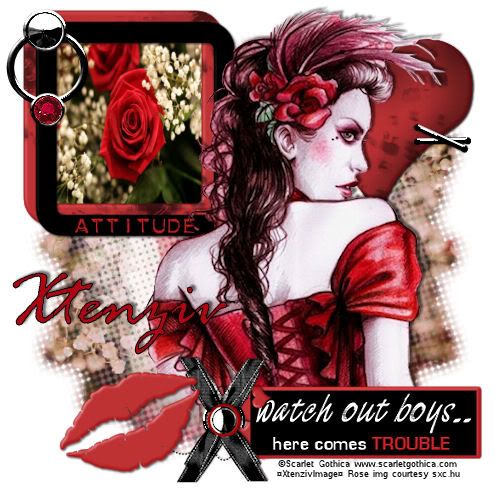
I am using an image from © Scarlet Gothica She has some fantastic art,
tubed by ME XtenzivImage
HERE
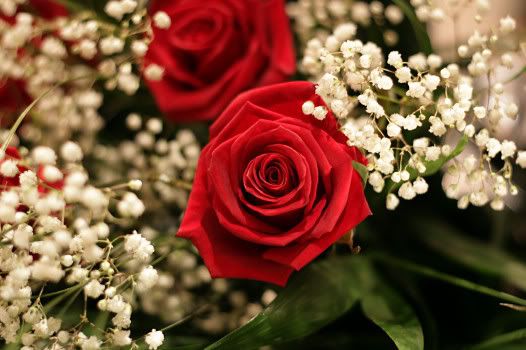
Rose Image
courtesy sxc.hu it's nice to add courtesy ty when using stock images.
Mini Scrapkit Trouble by Angie's Asylum. I saved the kit to my 4Shared since her blog seems to be closed.
Font: Rage Italic
(Just having the .TTF file open and minimized on your task bar will allow PsP to detect your font
without you having to install it.)
Mask is WSL_Mask 180 By Chelle Masks are found in the navigate link at the top of her blog and then click on downloads. Place these files in your masks folder.
This Tutorial was created using Corel's Paint Shop Pro® with the understanding
that you have a working knowledge of this program.
(I used PhotoX2 but you should have no trouble recreating it with earlier versions of PSP)
I was trying so hard to avoid the whole copy paste kind of tags but some of them turn out so well
i going to go with the flow for now then get more creative as i go along.
Open a new image 500 X 500 transparent and flood fill white or a color that compliments the page it's being posted on.
Open AApaper1 copy and paste to new image as a new layer.
Apply WSL_Mask180, source luminance> show all mask> fit to layer.
right click the mask in layer pallet, merge group.
Open sxc.hu9Rose1small copy and paste to new image as a new layer.
Apply WSL_Mask180, source luminance> show all mask> fit to layer.
right click the mask in layer pallet, merge group
Paste AA_MiniFrame as a new layer then add a new layer underneath using your rectangle
selection tool select area underneath frame.
Again copy sxc.hu9Rose1small this time paste into selection you just made.
Then add your main tube, resize by 80% apply your fav drop shadow .. mine is V -4 H 2 Opac 50 Blurr 6.
add the other elements that you like from the kit.
Add all your copyrights, **note if you used a black bkg make sure your © info is in a color you can see**
your license info and taggers mark if any.
Merge All Flatten and your done.
GREAT JOB!
THANK YOU
SO MUCH FOR TRYING MY TUT!
This tutorial is my own creation. Any similarity to any other tut is coincidental and completely unintentional.
Please do not copy it, upload it to another website you may share the link to the blog or the tutorial page directly.
☼XtenzivImage☼ Originally posted Feb©2009-All artwork used remains the copyright of the creators

