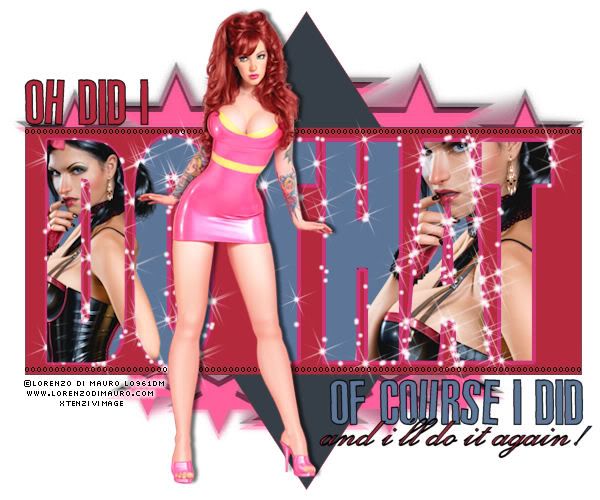
I am using the beautiful Artwork
of Lorenzo DiMauro
You can Purchase this artist and many more at PsP Tubes Emporium
Fonts:
Exmouth Vinyl stickons
My Mask SUPPLIES The template is also included in case you’re in a hurry..lol
This Tutorial was created using Corel's Paint Shop Pro® with the understanding
that you have a working knowledge of this program.
(I used PhotoX2 but you should
have no trouble recreating it with earlier versions of PSP)
**Program Tip: you can click and drag open items onto a working canvas,
in order to do this you need to have your layers palette open then just select the layer you want then click and drag it to your canvas**
Open a new image 600 X 600 transparent 72dpi
Set your background color to #363e47 and stroke color #a42c3d
Using your selection tool and star 2 draw out a fairly large
selection almost fill the canvas.
Open a new raster layer and drag it beneath the star layer,
selections select all then flood fill with black #000000 apply XtenzMask 1 merge group. Open a new raster layer it should already be selected but if not… selections select all now choose a color from your tube, I used #fd609b and flood fill the layer pink.. again apply my mask
Click on the star layer and add a new raster layer using your selection tool set to rectangle draw out level with the stars right and left points.
Flood fill the rectangle with a color from your tube I used #b4293c .
Now add your slogan or text I used Impact for DO THAT size 125 and used the color from her eyes, covert to raster layer / selections/ select all/ float and defloat then selections modify select selection borders set to 3 both checked add a new raster layer and flood fill with #ce3575 to make it sparkle
I used Eye Candy Impact constellation show image clicked random seed until I got something I liked (but it is a pay filter so to get a sparkly effect you can add noise or find a sparkle you like and use that. )
Click on the DO THAT layer selections / select all paste your tube as a new layer, duplicate tube and hide one arrange image in the font then making sure your on the tube layer invert the selection and delete the excess again invert the selection un hide the other and resize it by 60 or 70% arrange it in the font on the other side. Invert and delete. Select none.
ADD YOUR COPYRIGHTS
Still with me .. GOOD now I added the rest of the slogan oh did I on the top and of course I did on the bottom. I also used a small font pixelette to add the letter O to the top and bottom of the template rectangle.Add the tube again or choose another from the same artist and paste as new layer resize as necessary add a slight drop shadow and your done!
GREAT JOB!
THANK YOU SO MUCH FOR TRYING MY TUT!
This tutorial is my own creation. Any similarity to any other tut is
coincidental and completely unintentional.
Please do not copy it, upload it to another website. You may share the link to
the blog or the tutorial page directly.
☼XtenzivImage☼ ©2011 -All artwork used remains the copyright of the owner.

love it! =]
ReplyDeleteAwesome, as always!
ReplyDelete